
This view of the Owner's Manual contains the very latest information, which may vary slightly from the printed Owner's Manual originally provided with your vehicle. It may also describe content that is not on or operates differently on your vehicle. Please consider the Owner's Manual originally provided with your vehicle as the primary source of information for your vehicle.

The information contained in this publication was correct at the time of release.In the interest of continuous development, we reserve the right to change specifications, design or equipment at any time without notice or obligation.No part of this publication may be reproduced, transmitted, stored in a retrieval system or translated into any language in any form by any means without our written permission.Errors and omissions excepted.
Copyright © 2024 Ford Motor Company
Audio Unit - Vehicles With: AM/FM/SYNC
 Press and release the button to open the media source menu.
 Press and release the button to access settings for Treble, Midrange, Bass, Fade and Balance.
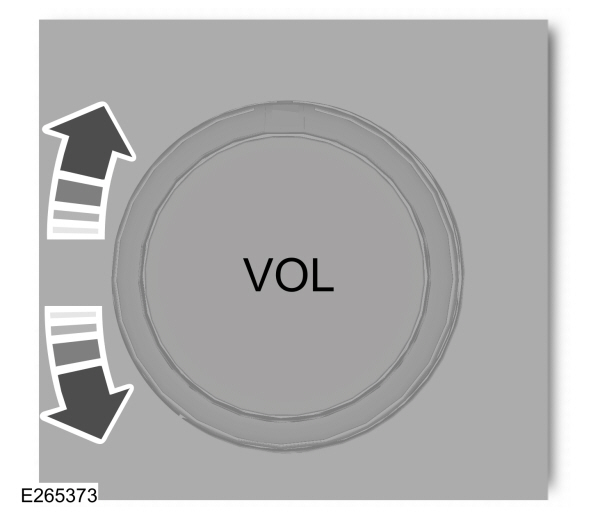
 Press and release to confirm a selection.
 WARNING:
Driving while distracted can result in loss of vehicle control, crash and injury. We strongly recommend that you use extreme caution when using any device that may take your focus off the road. Your primary responsibility is the safe operation of your vehicle. We recommend against the use of any hand-held device while driving and encourage the use of voice-operated systems when possible. Make sure you are aware of all applicable local laws that may affect the use of electronic devices while driving.
WARNING:
Driving while distracted can result in loss of vehicle control, crash and injury. We strongly recommend that you use extreme caution when using any device that may take your focus off the road. Your primary responsibility is the safe operation of your vehicle. We recommend against the use of any hand-held device while driving and encourage the use of voice-operated systems when possible. Make sure you are aware of all applicable local laws that may affect the use of electronic devices while driving. |
Note:
Some features, such as satellite radio, may not be available in your location. Check with an authorized dealer.
Accessing the Clock Settings
 Press and release the button to access the clock setting.
Use the center arrow controls to change the hours and minutes. |
Accessing the Media Source Menu
Press and release the button to open the media source menu.You can press this multiple times to change to a SYNC-Media device or scroll through the media sources using the arrow buttons. Press OK to select a source.
Accessing the Menu
 Press and release the button to access different audio system features.
 |
Accessing the Phone Features
 Press and release the button to access the phone features of the SYNC system. See your SYNC information.
 |
Accessing the Sound Settings
Press and release the button to access settings for Treble, Midrange, Bass, Fade and Balance.Use the up and down arrow buttons to select the various settings. Press OK to confirm a selection, press the left and right arrow buttons to change the settings. Press OK to set or press MENU to exit. You can set sound settings for each audio source independently.
Adjusting the Volume
Turn to adjust the volume.
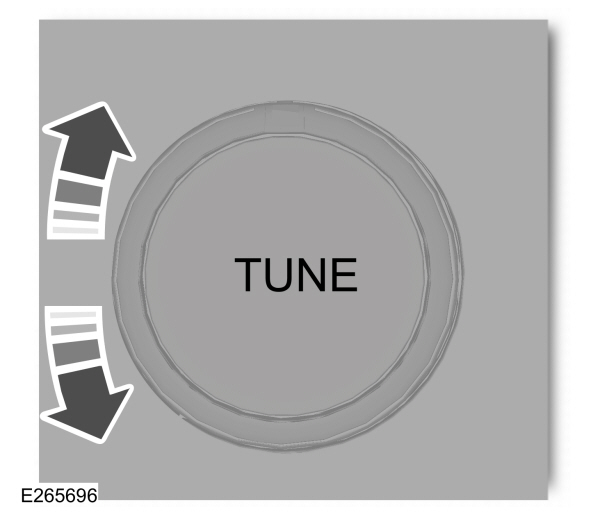
Changing Radio Stations
In radio mode, turn to search through the radio frequency band.
In satellite radio mode, turn to find the previous or next available satellite radio station.
Listening to the Radio
 Press and release the button to listen to the radio or change radio stations.
 |
Listening to Satellite Radio
 Press and release the button to listen to satellite radio.
 |
Switching the Audio Unit On and Off
 Press and release the button.
 |
Using the Display Control
Use the up and down arrow buttons to select the various settings. When you make your selection, press the left and right arrow buttons to change the settings.
Press and release to confirm a selection.Press and release the function buttons below the display to select different functions of the audio system depending on which mode you are in (such as Radio mode).
Using the Number Block
In radio mode, store and recall your favorite radio stations. To store a radio station, tune to the station, then press and hold a preset button until sound returns. In phone mode, enter a phone number.
Using Seek, Fast Forward and Reverse

| 
|
In radio mode, select a frequency band and press and release either button. The system stops at the first station it finds in that direction.
In satellite radio mode, press and release to select the next or previous satellite radio station. If you select a specific category (such as jazz, rock or news), press to find the next or previous station in the category you select.
Menu Structure
Note:
Depending on your system, some options may appear slightly different.
Press MENU.
Press the up and down arrow buttons to scroll through the options.
Press the right arrow to enter a menu. Press the left arrow to exit a menu.
Press OK to confirm a selection.
| Radio | |
|---|---|
| Manual Tune | Use the left and right arrows to go up or down the frequency band. |
Scan | Select for a brief sampling of all available channels. |
AST | Select to store the six strongest local stations on the AM-AST and FM-AST frequency bands. |
Set Category for Seek/Scan | Select to have the system search by certain music categories (such as Rock, Pop or Country). |
RDS Text Display | Select to view additional broadcast data, if available. This feature defaults to off. RBDS must be on for you to set a category. |
| Satellite Radio | |
|---|---|
Scan | Select for a brief sampling of all available channels. |
Electronic Serial Number (ESN) | Select to view your satellite radio electronic serial number (ESN). You will need this number when communicating with your satellite radio provider to activate, modify or track your account. |
Check Channel Guide | Select to view available satellite radio channels. Press OK to open a list of the following options for this channel. Once you skip or lock a channel, you can only access it by pressing Direct Tune and entering the channel number. Locking or unlocking a channel requires your PIN. |
Set Category for Seek/Scan | Select to view channel categories (such as Pop, Rock or News). If you select a category, seek and scan functions only stop on channels in that category. |
Alerts | Select to switch alerts on or off for songs, artists or teams. The system alerts you when the selection is playing on another channel. Save up to 20 alerts. |
| Unlock All Stations | Use your PIN to unlock previously locked stations. |
| Skip No Stations | Use to restore any channels you previously skipped. |
Parental Lockout | Select to create a PIN, which allows you to lock or unlock channels. Your initial PIN is 1234. |
| Audio Settings | |
|---|---|
Speed Compensated Volume | Adjusts the volume to compensate for speed and wind noise. You can set the system between 0 and +7. |
Sound | Select to adjust settings for Treble, Midrange, Bass, Fade or Balance. |
Occupancy Mode | Select to optimize sound quality for the chosen seating position. |
DSP | Choose between the stereo modes. |
| Clock Settings | |
|---|---|
Set Date and Time | Select to set the time and calendar date. |
24 Hour | Select to view clock time in a 12-hour mode or 24-hour mode. |
| Display Settings | |
|---|---|
Brightness | Select to change display brightness. |
Language | Select to display the language in English, French or Spanish. |
| Temp. Setting | Select to display the outside temperature in Fahrenheit or Celsius. |
Thank You For Your Feedback